DIY: Best Head Band

Apologies again for the less than spectacular photography. This headband is one of the most comfy I have owned, and its pretty! And does not give me a headache! And it was free! I know its hard to tell by these pictures all the awesomeness, so please check out blogger Make it and Love it for some inspiration. I credit this post to her!

Materials

  1. Any fabric you choose. I cut up an old black jersey material tube top. Jersey material is good because it is comfortable and has some stretch to it. Cotton, spandex, or some blended form probably would work fine too
  2. Either glue gun and glue sticks – Dollarama or thread (preferably in the colour of your material) and needle.

Directions

  1. Cut five strips of the fabric. Each strip  should be twice as long as the measurement around your head. They can be off any thickness, obviously the thicker the strips, the thicker the headband will be. Make sure the strips are evenly cut and of the same length
  2. Place the strips on top of each other and either sew or glue the pieces together at the top. Pull on each strip of fabric so that they slightly curl on the edges.
  3. Lay your strips down on your work surface and tape the top part down to help you while braiding. Split up the strips by putting 3 on the left side and 2 strips on the right.
  4. Now you will be creating the 5 strand braiding that you will continue to do down to the end. Make it and Love it has created wonderful directions WITH photos to help you out with this part. please see her website for the rest of the directions! Her photos speak words better than I could type!

Can’t wait to make some more of these… i thinking some pastel colours for spring, and neon for summer!

xo

CP

DIY: Wine Charmed

Image

Finally – a new post! I’m actually flooded with school work but that hasn’t stopped me yet (well, maybe has put a tiny dent in my DIYs).

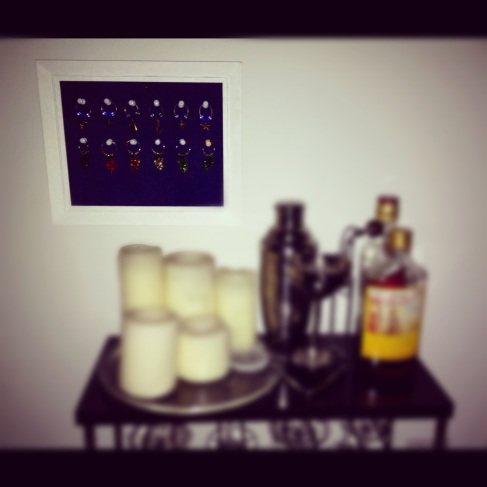
I wanted to organize and keep my wine charms in a cute and accessible place. I had seen this project for organizing jewelry, but I thought it would be cute for wine charms as well. I also like the idea of guests being able to choose their wine charm rather than having one assigned (and by assigned I mean never came off the glass from the last user).

I apologize again for the photo, but it does look really neat. I plan to add another row but I ran out of white push pins. I also want prettier push pins… I will have a better picture when I complete it.

Materials

  1. 1/2 inch thick foam board – Deserres, price depends on size ($6-$20)
  2. Picture frames – mother’s basement (or try Dollarama)
  3. Fabric – mother’s basement (or try Fabric Land)
  4. Glue gun and glue sticks – Dollarama
  5. Push pins – as many as you want, in any style (Dollarama has pretty ones)
  6. wine charms! – mine were gifted, but they can be found in any boutique

Instructions

  1. Measure and cut foam board to fit into frame. If you do it exact enough, it will squeeze in and not need any support
  2. Cut fabric so that it is slightly bigger all around your piece of foam board
  3. Glue the fabric to the board by gluing the extra fabric to the back of the foam board, pulling it tight so it stays taut
  4. Put fabric covered foam board into frame. Place push pins and wine charms in the order you want
  5. Hang – ta-da!

Are you as charmed as I was about this project?

P.S: here’s an updated photo: DIY: Wine Charmed Update